Portal: Create a Widget
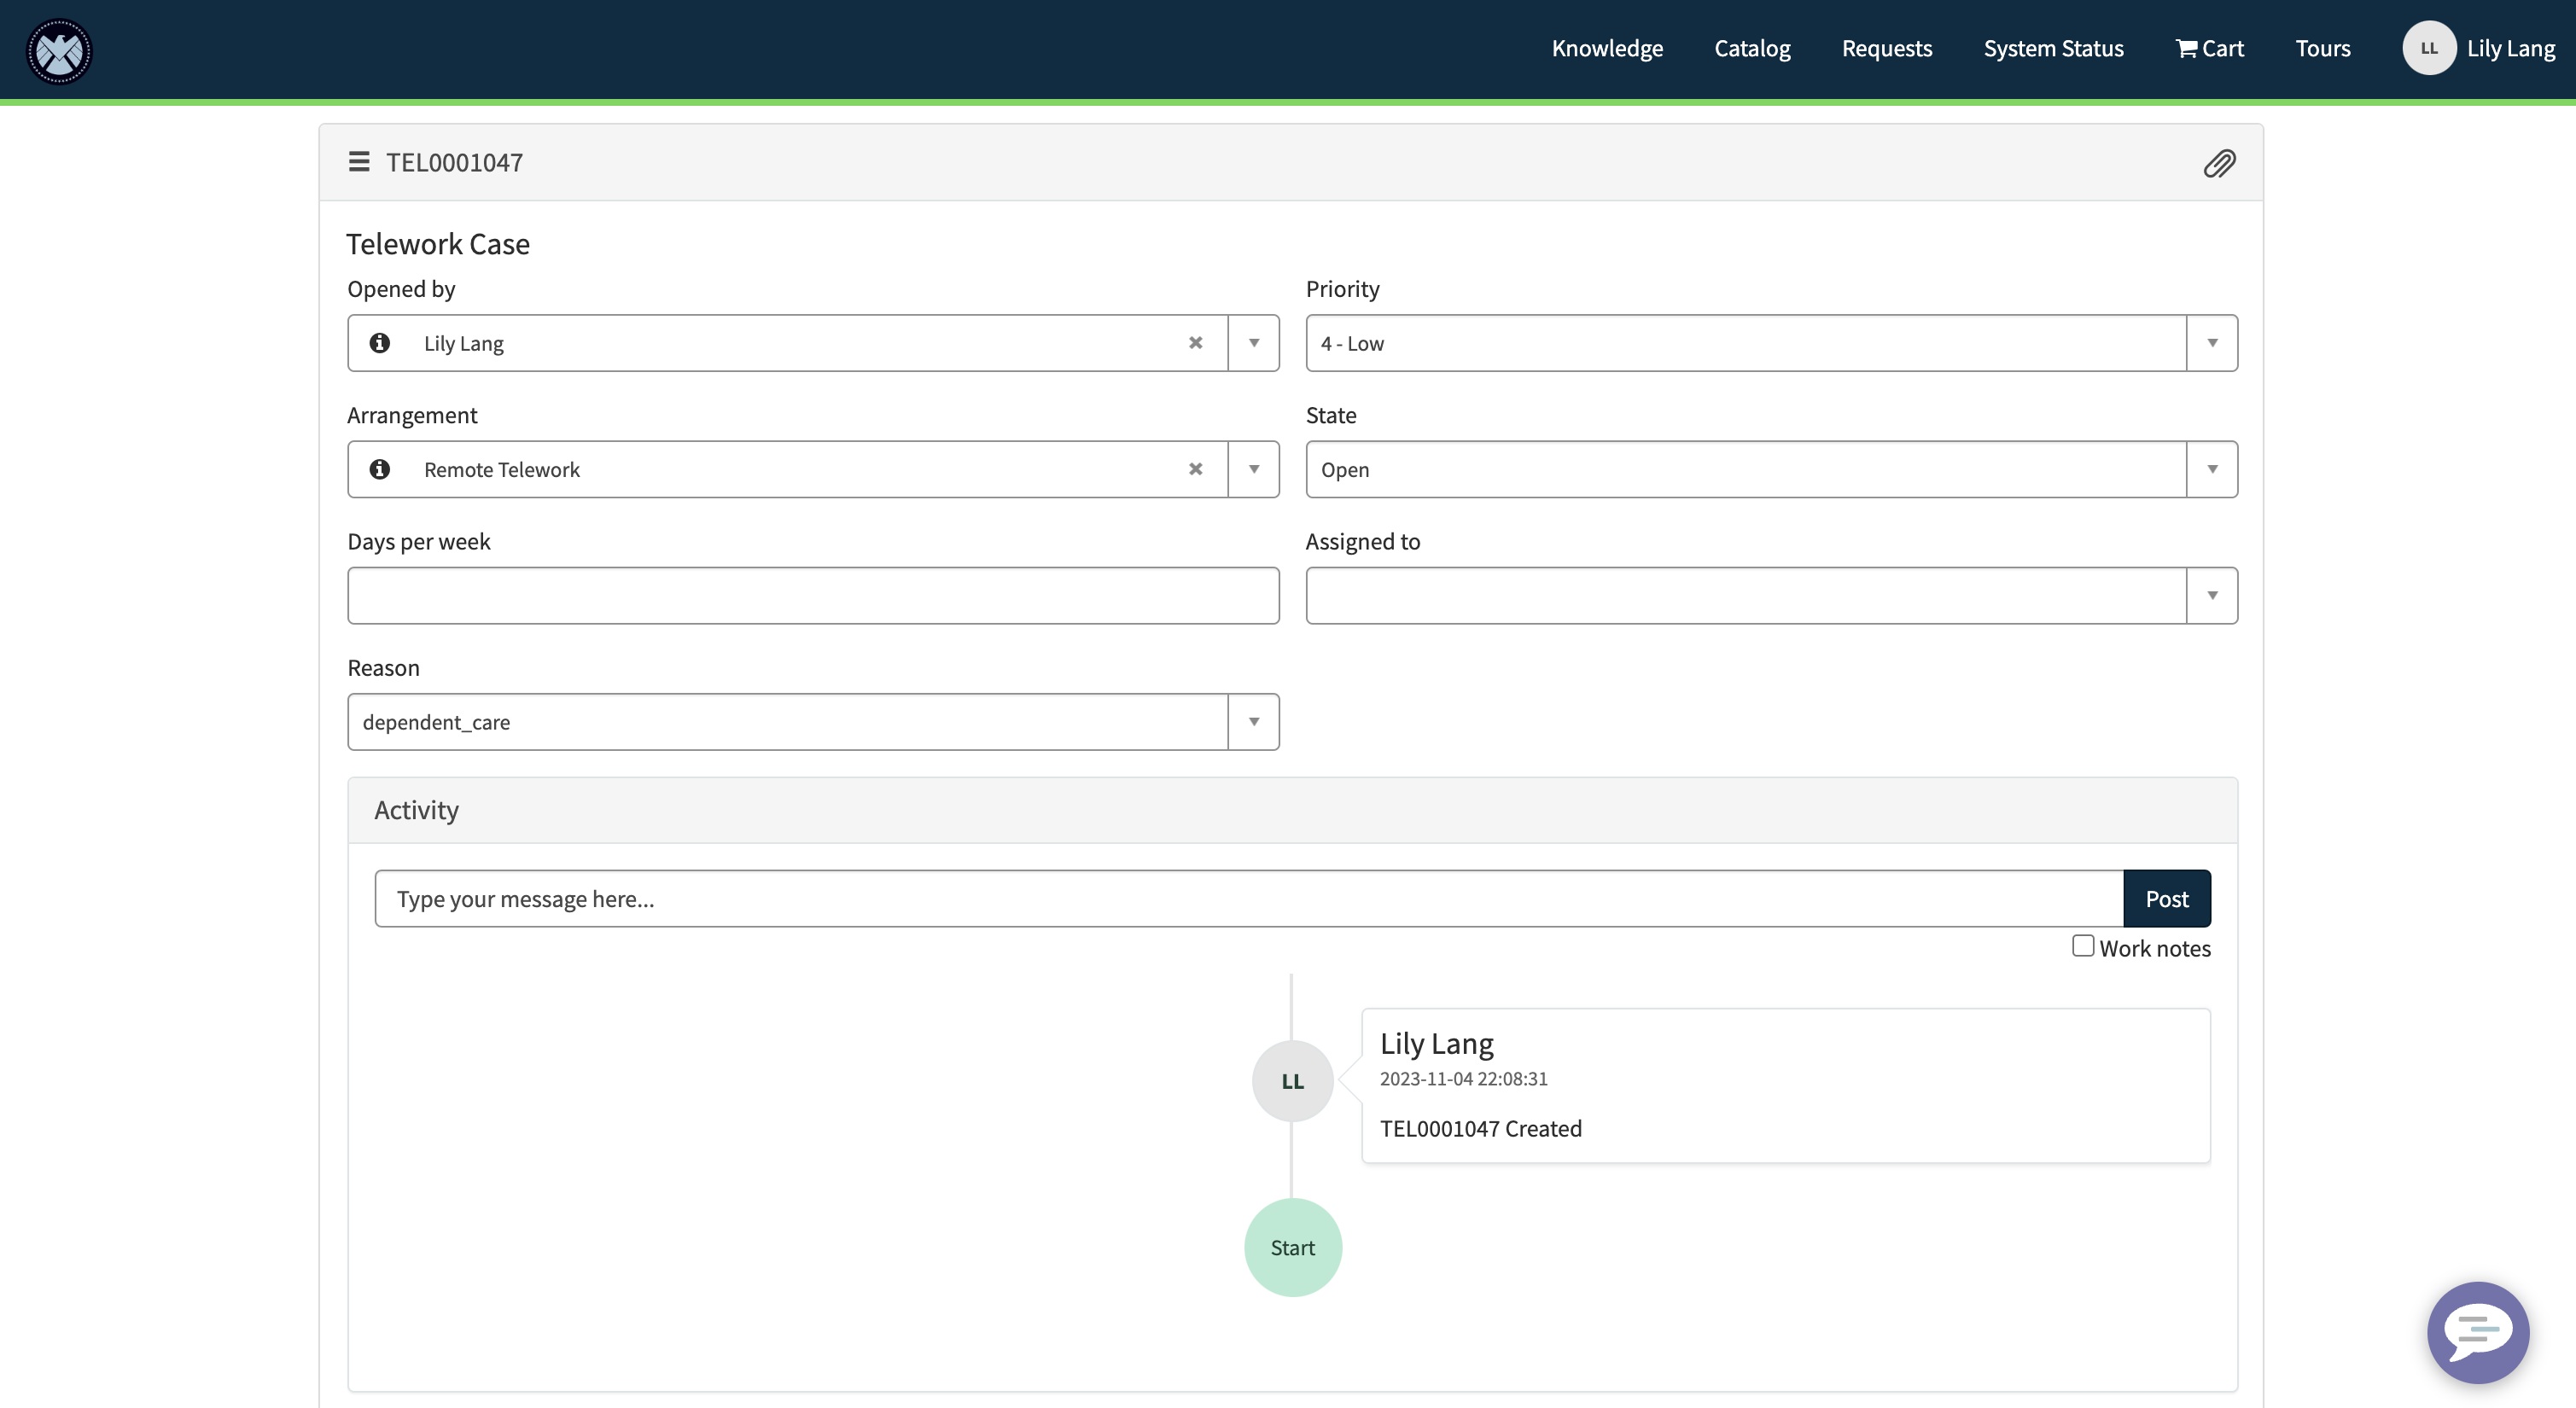
In this exercise, we will learn how to clone an existing widget so we can modify it. We will use the button to allow users to navigate to an editable view of the Telework Cases that they've submitted or are assigned to them.
Steps
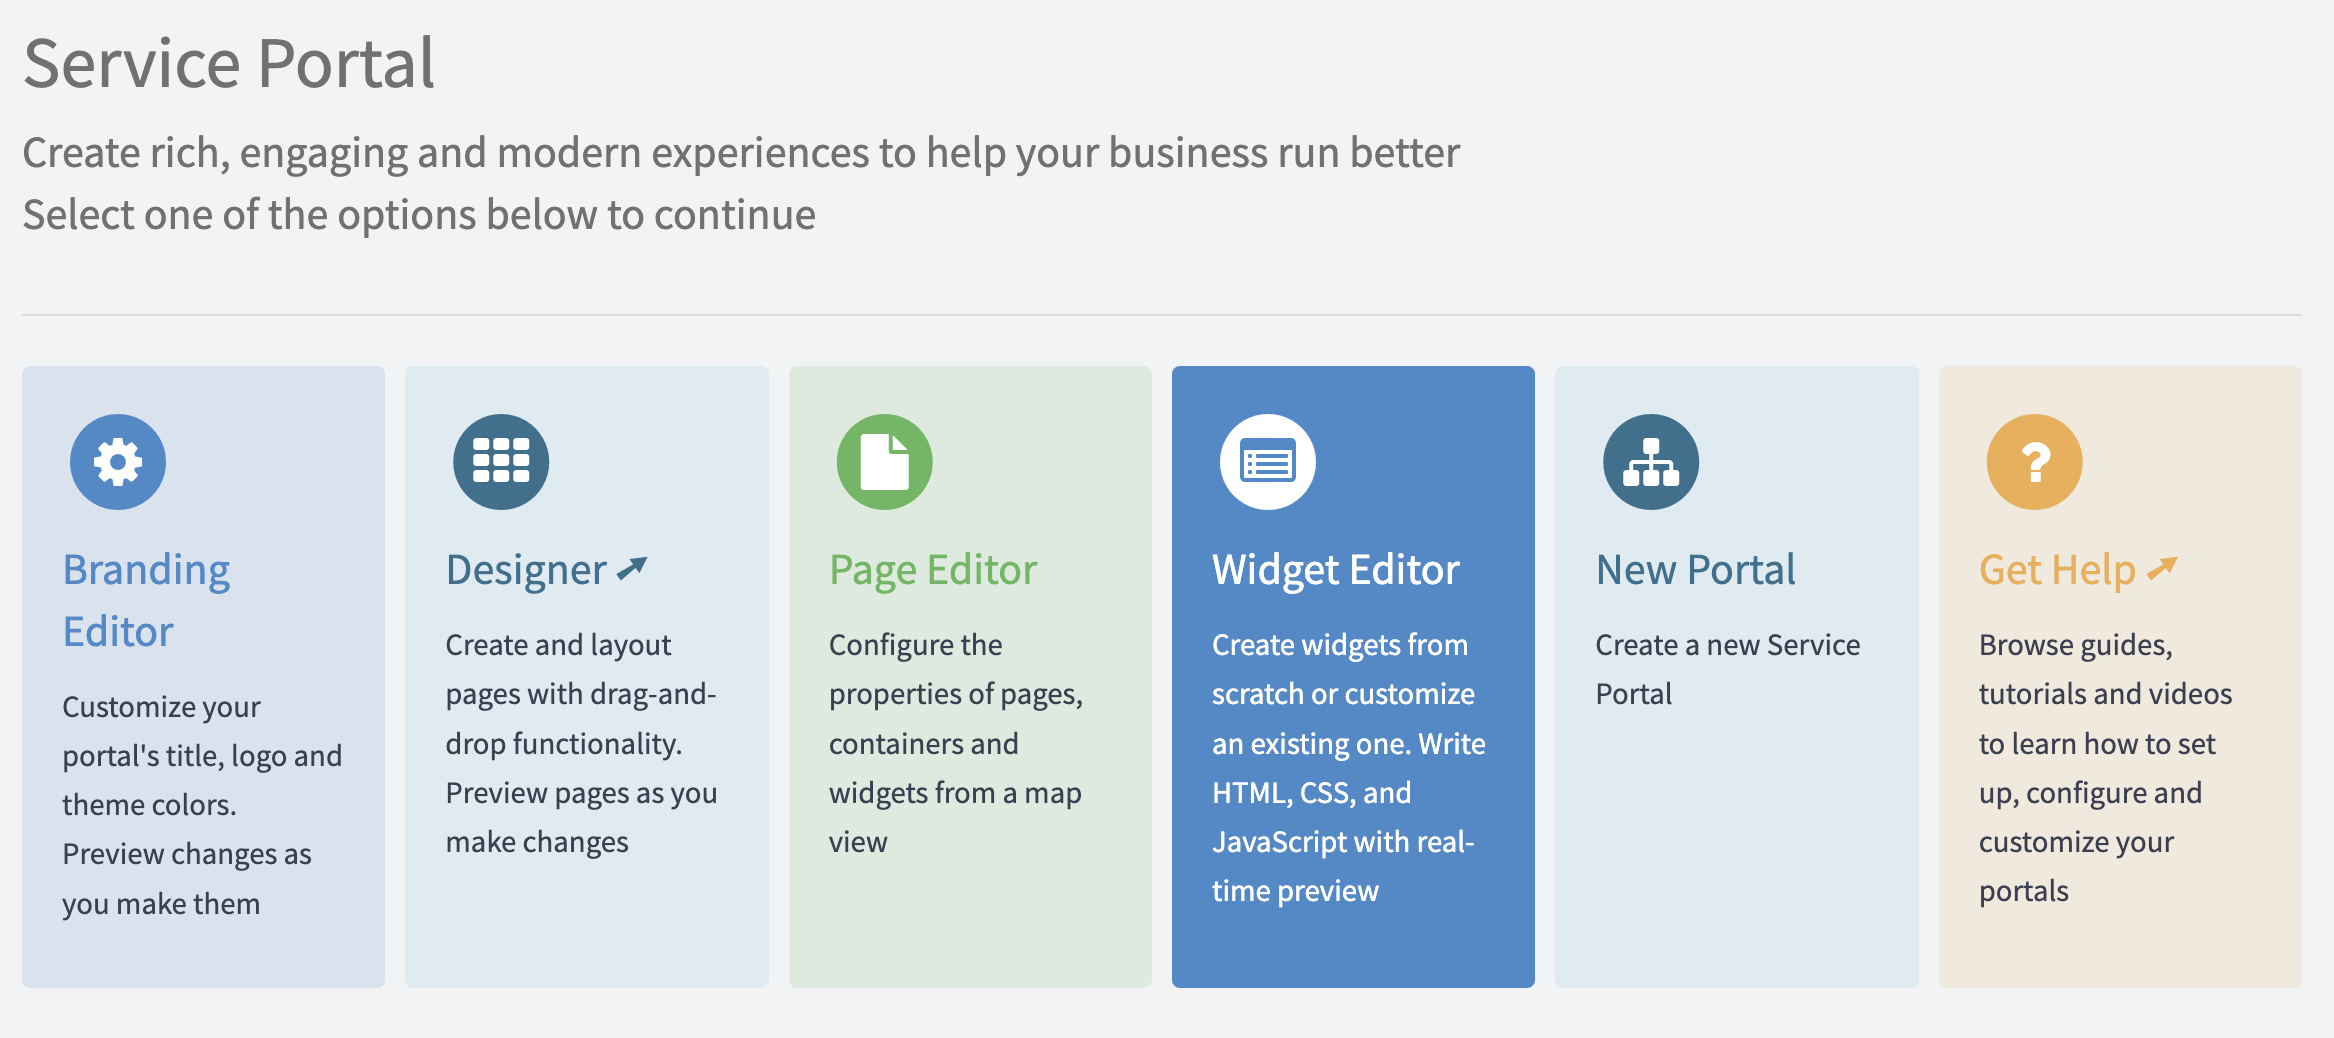
- To access the Widget Editor, navigate to Service Portal > Service Portal Configuration, then click Widget Editor
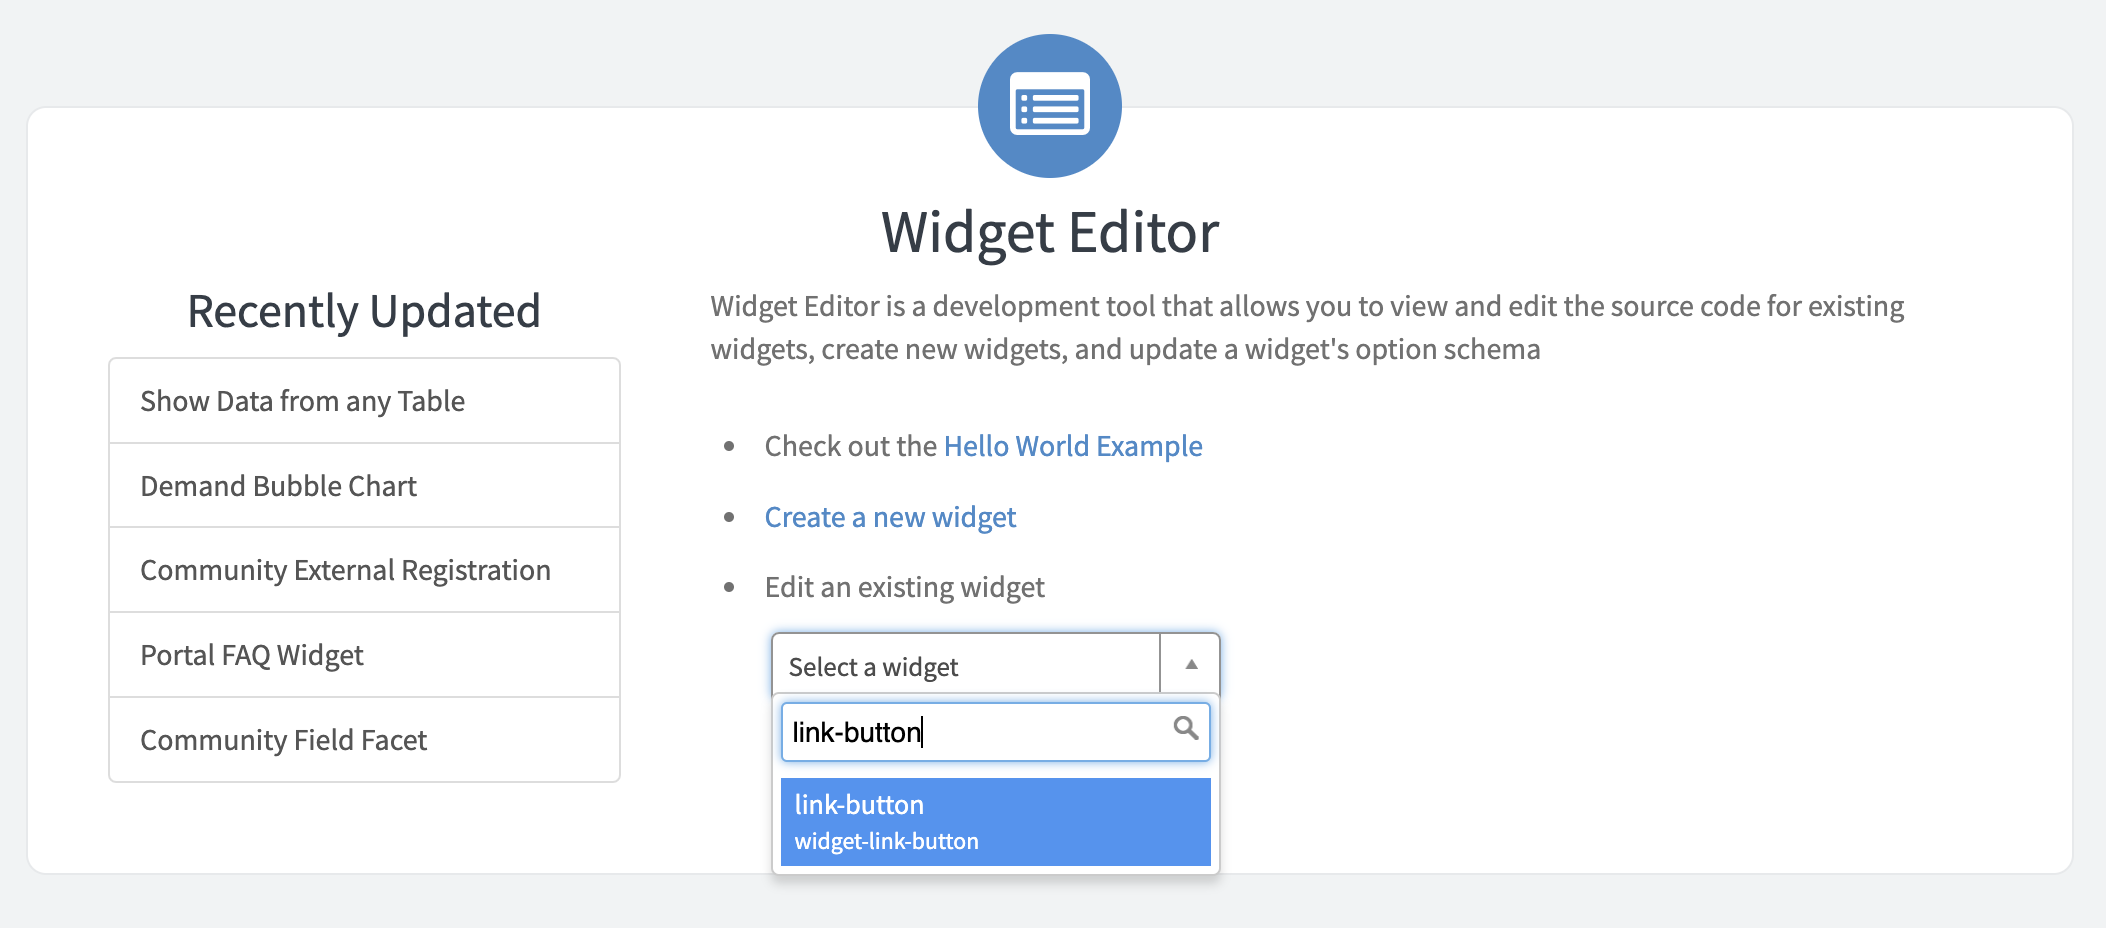
- Select link-button under Edit an existing widget
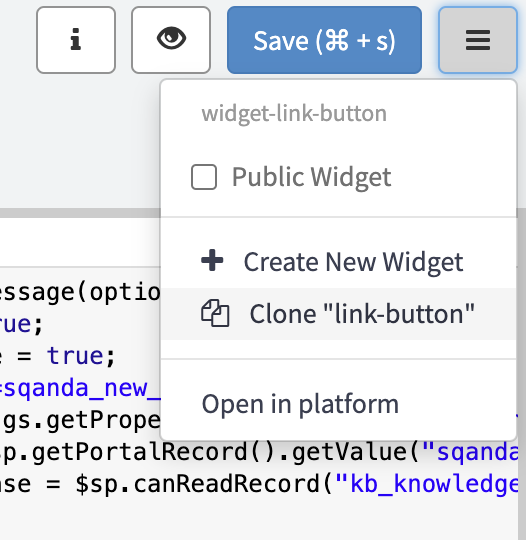
- Select Clone “link-button” from the additional options from the menu in the top right
- Name your widget Edit Request Button. The Widget ID will auto-populate
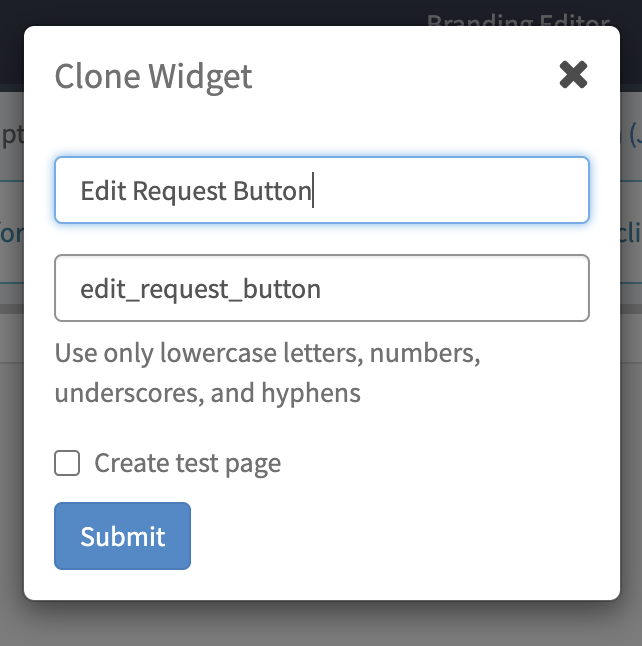
- Submit
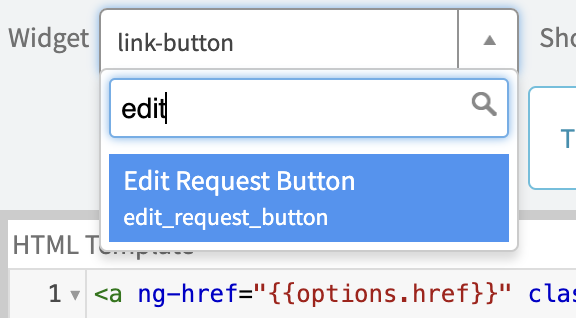
- Select your new widget in the top left of the widget editor
Replace the HTML Template and Server Script with the following code:
HTML: button will link to the "form" page and passes the table name and sys_id of the current record as parameters in the URL
<a href="?id=form&table=YOUR_TABLE&sys_id={{data.sys_id}}&view=sp" class="btn btn-{{options.color}} m-b">{{data.buttonMsg}}</a>Server Script:
(function($sp) {

//get the sys_id from the current record page url and adds it to the widget's data object so it can be accessed from HTML
var sys_id = $sp.getParameter('sys_id');
data.sys_id = sys_id;

//set the text that shows up in the button to either the message configured through the widget options or defaults to "Click Here" if nothing is configured
data.buttonMsg = gs.getMessage(options.button_text || "Click Here");

})($sp);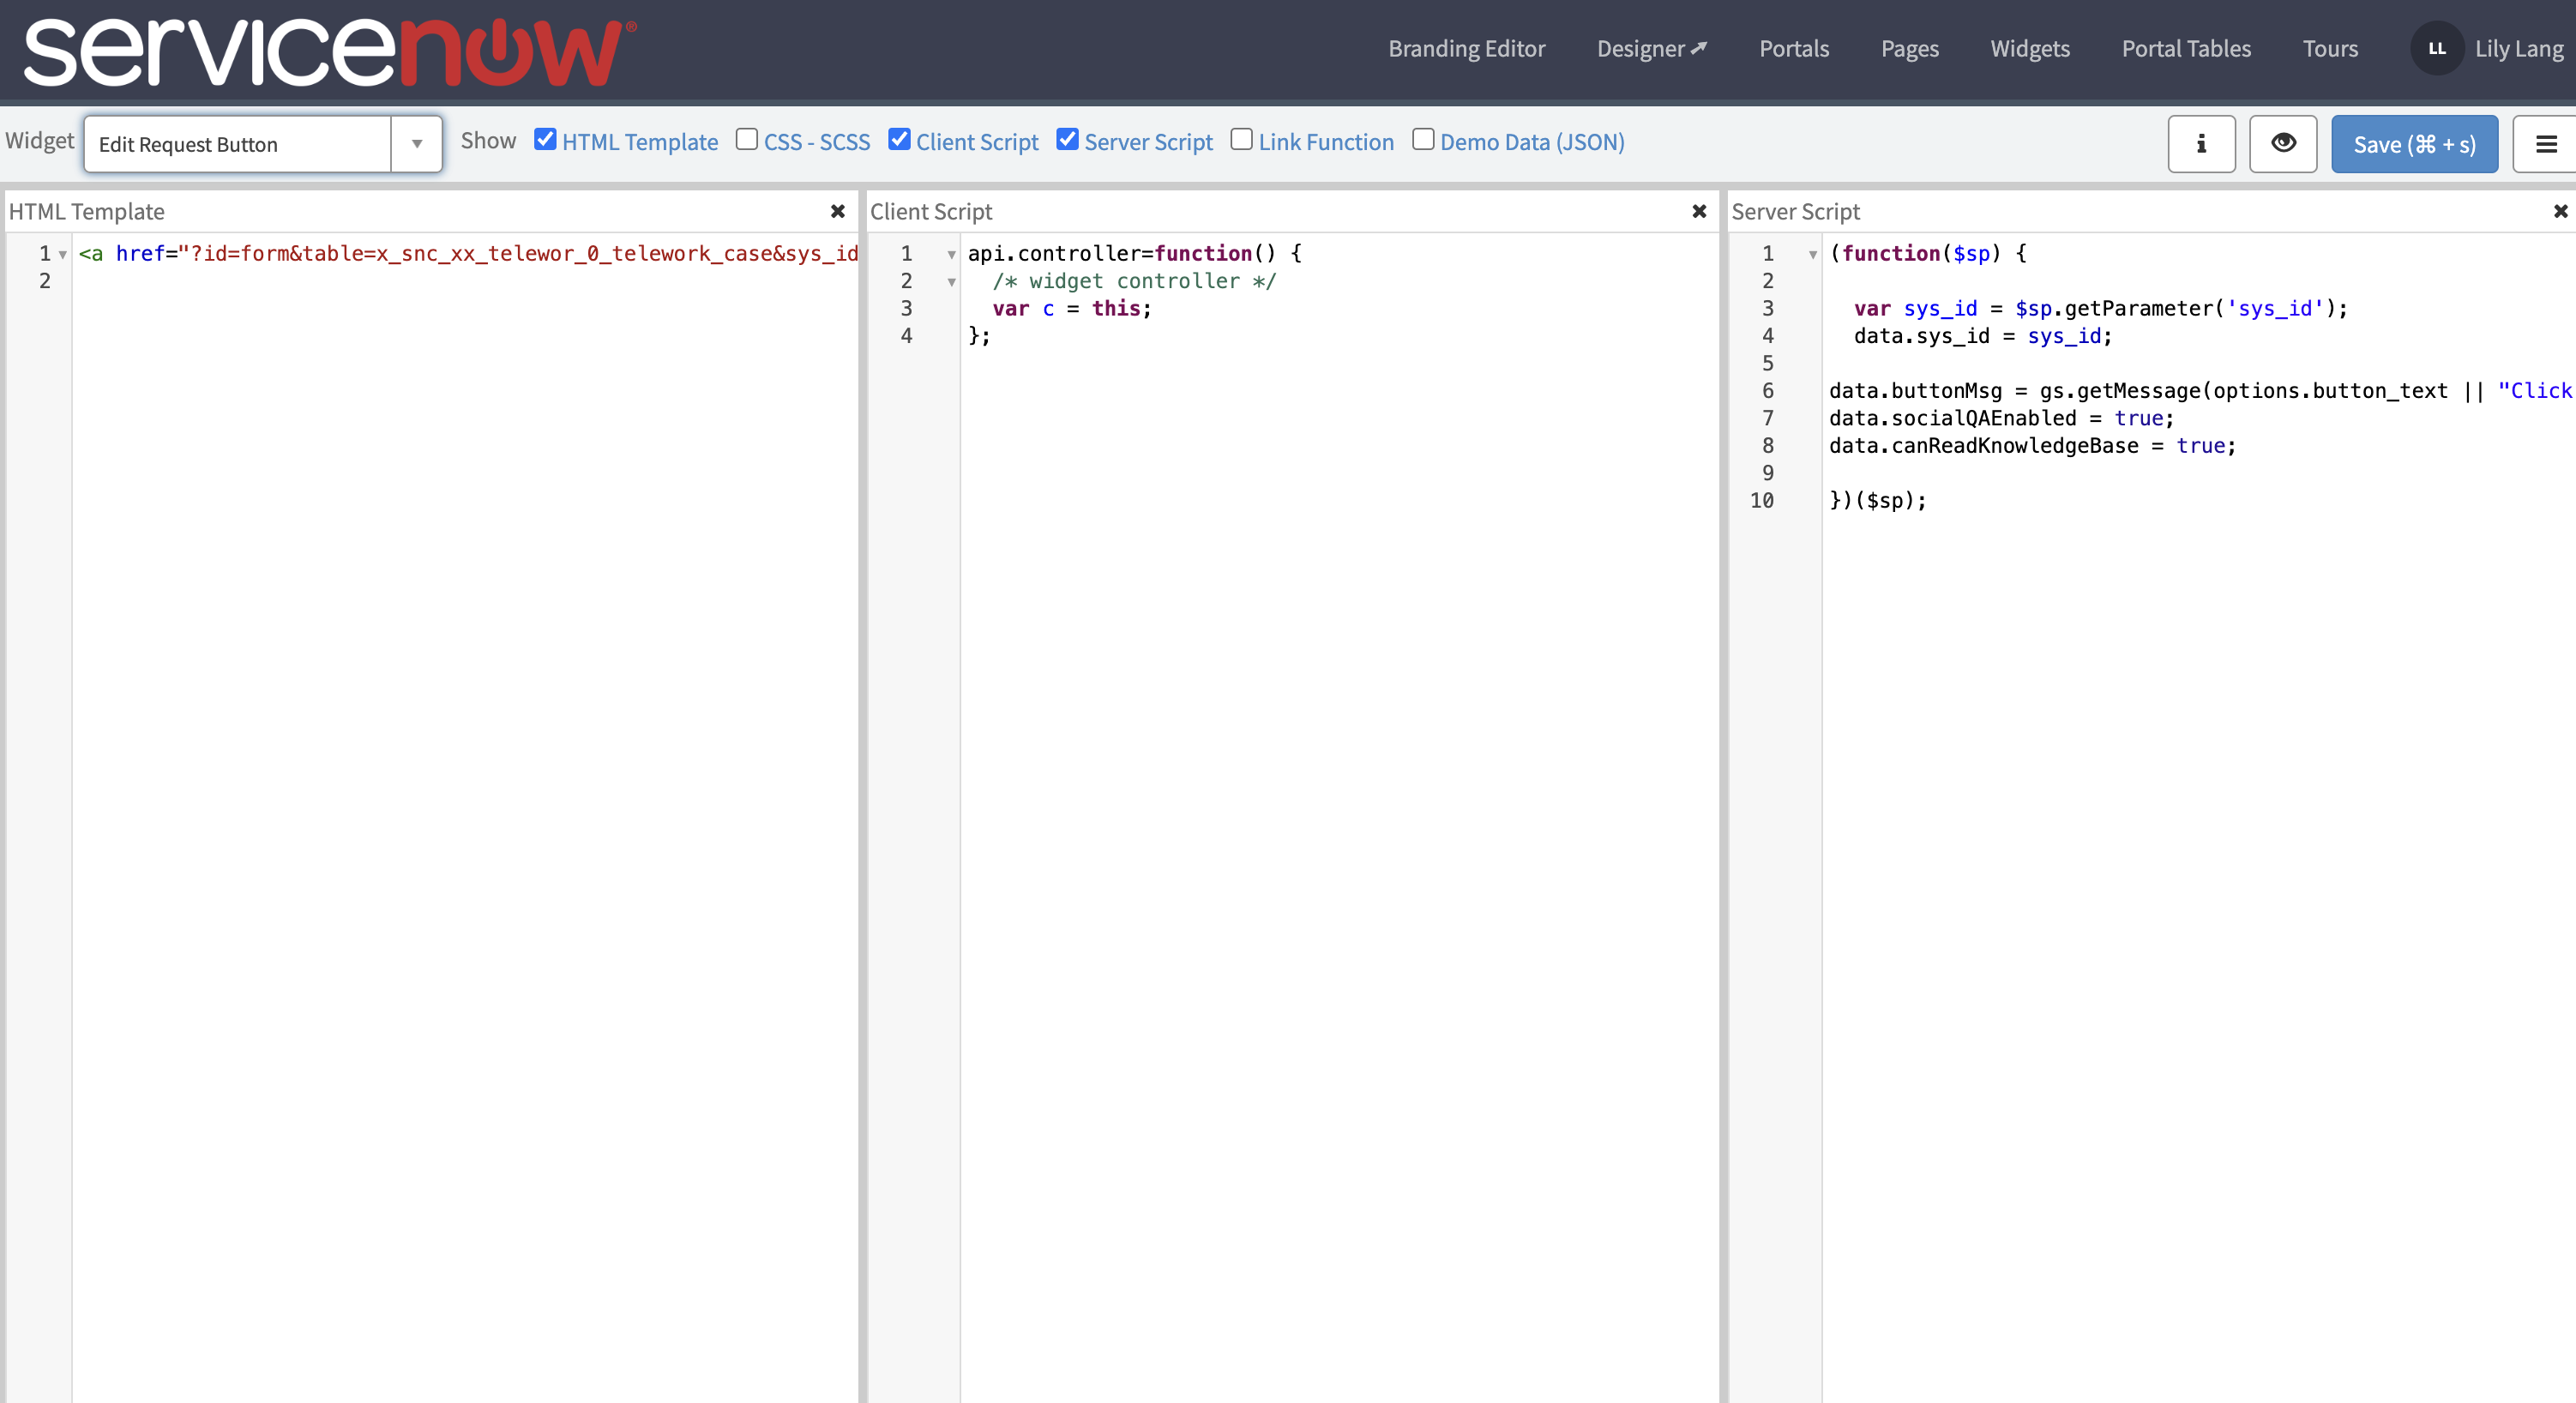
- Save using the blue button at the top right of the widget editor
Replace YOUR_TABLE in the HTML template with the name of your table
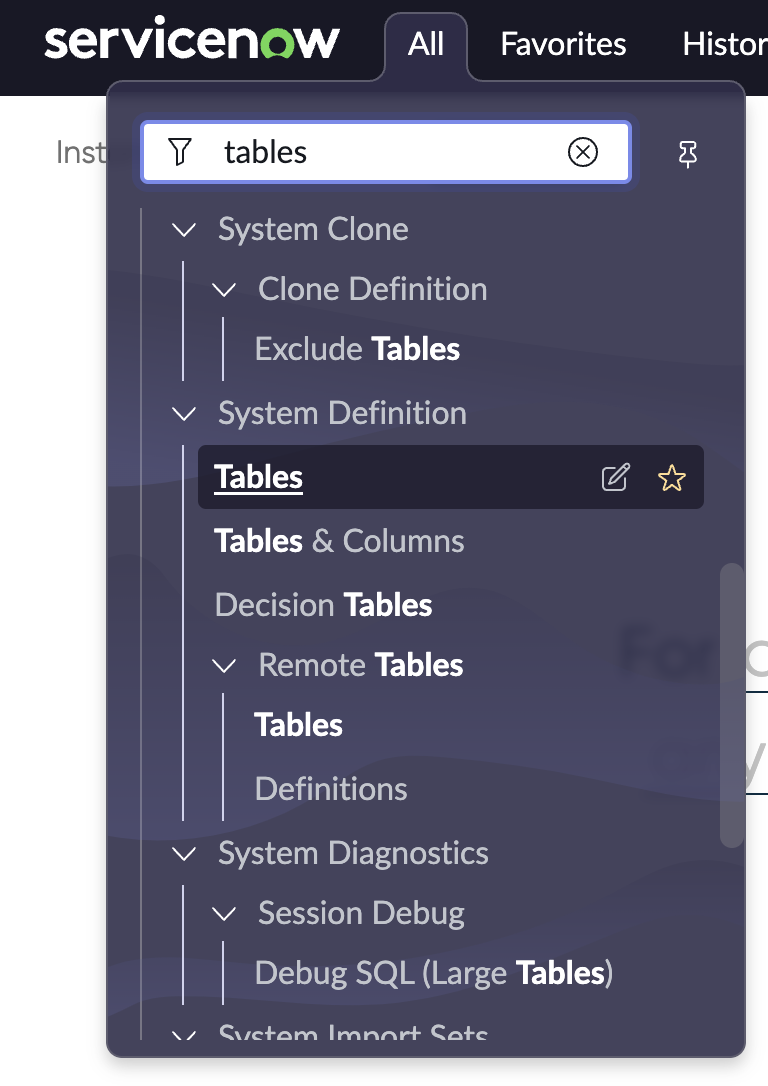
- In the platform view, navigate to System Definition > Tables
- In the search bar below "Label" search for: *telework
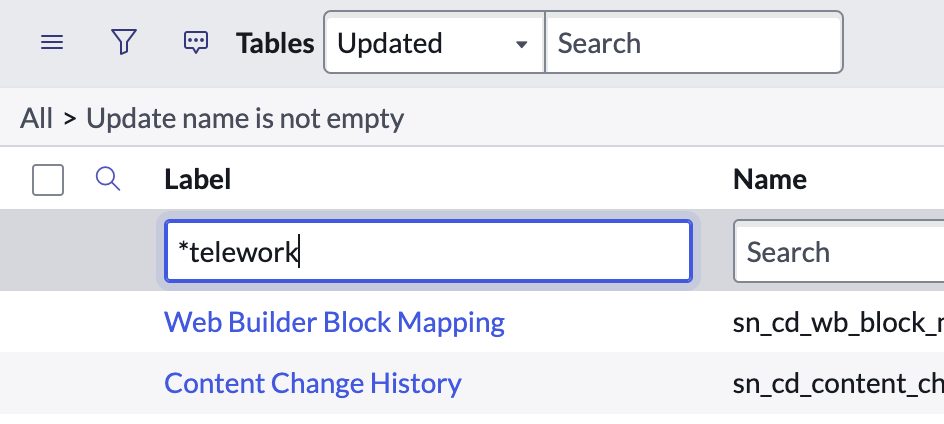
- Hit Enter/Return on your keyboard
- Open your Telework Case table by clicking on the label
- Copy the value in the Name field
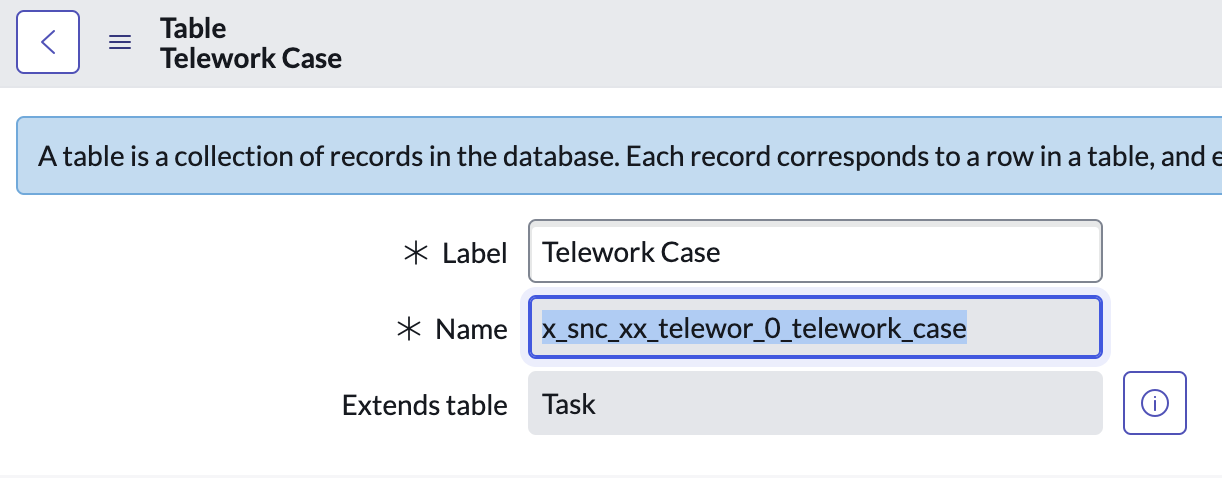
- Go back to the browser tab where the widget editor is open and replace YOUR_TABLE with the copied value

- Save
- In the platform view, navigate to System Definition > Tables
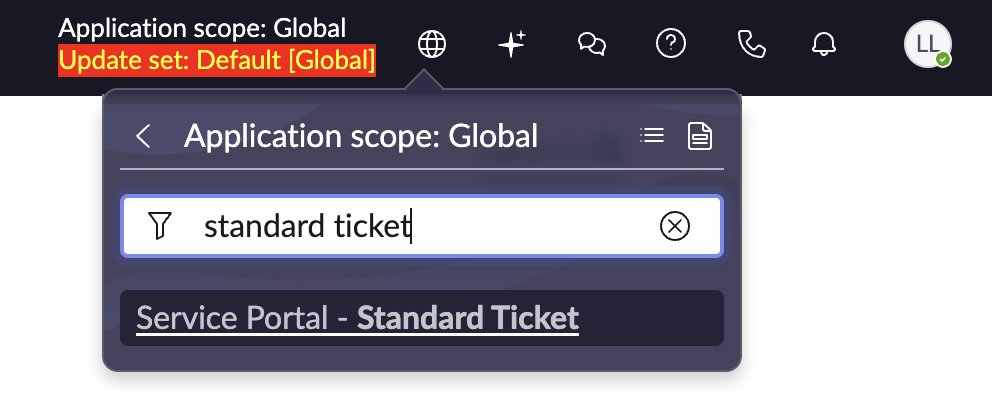
- Go back to the platform view and change your scope to Service Portal – Standard Ticket using the scope picker on the navbar
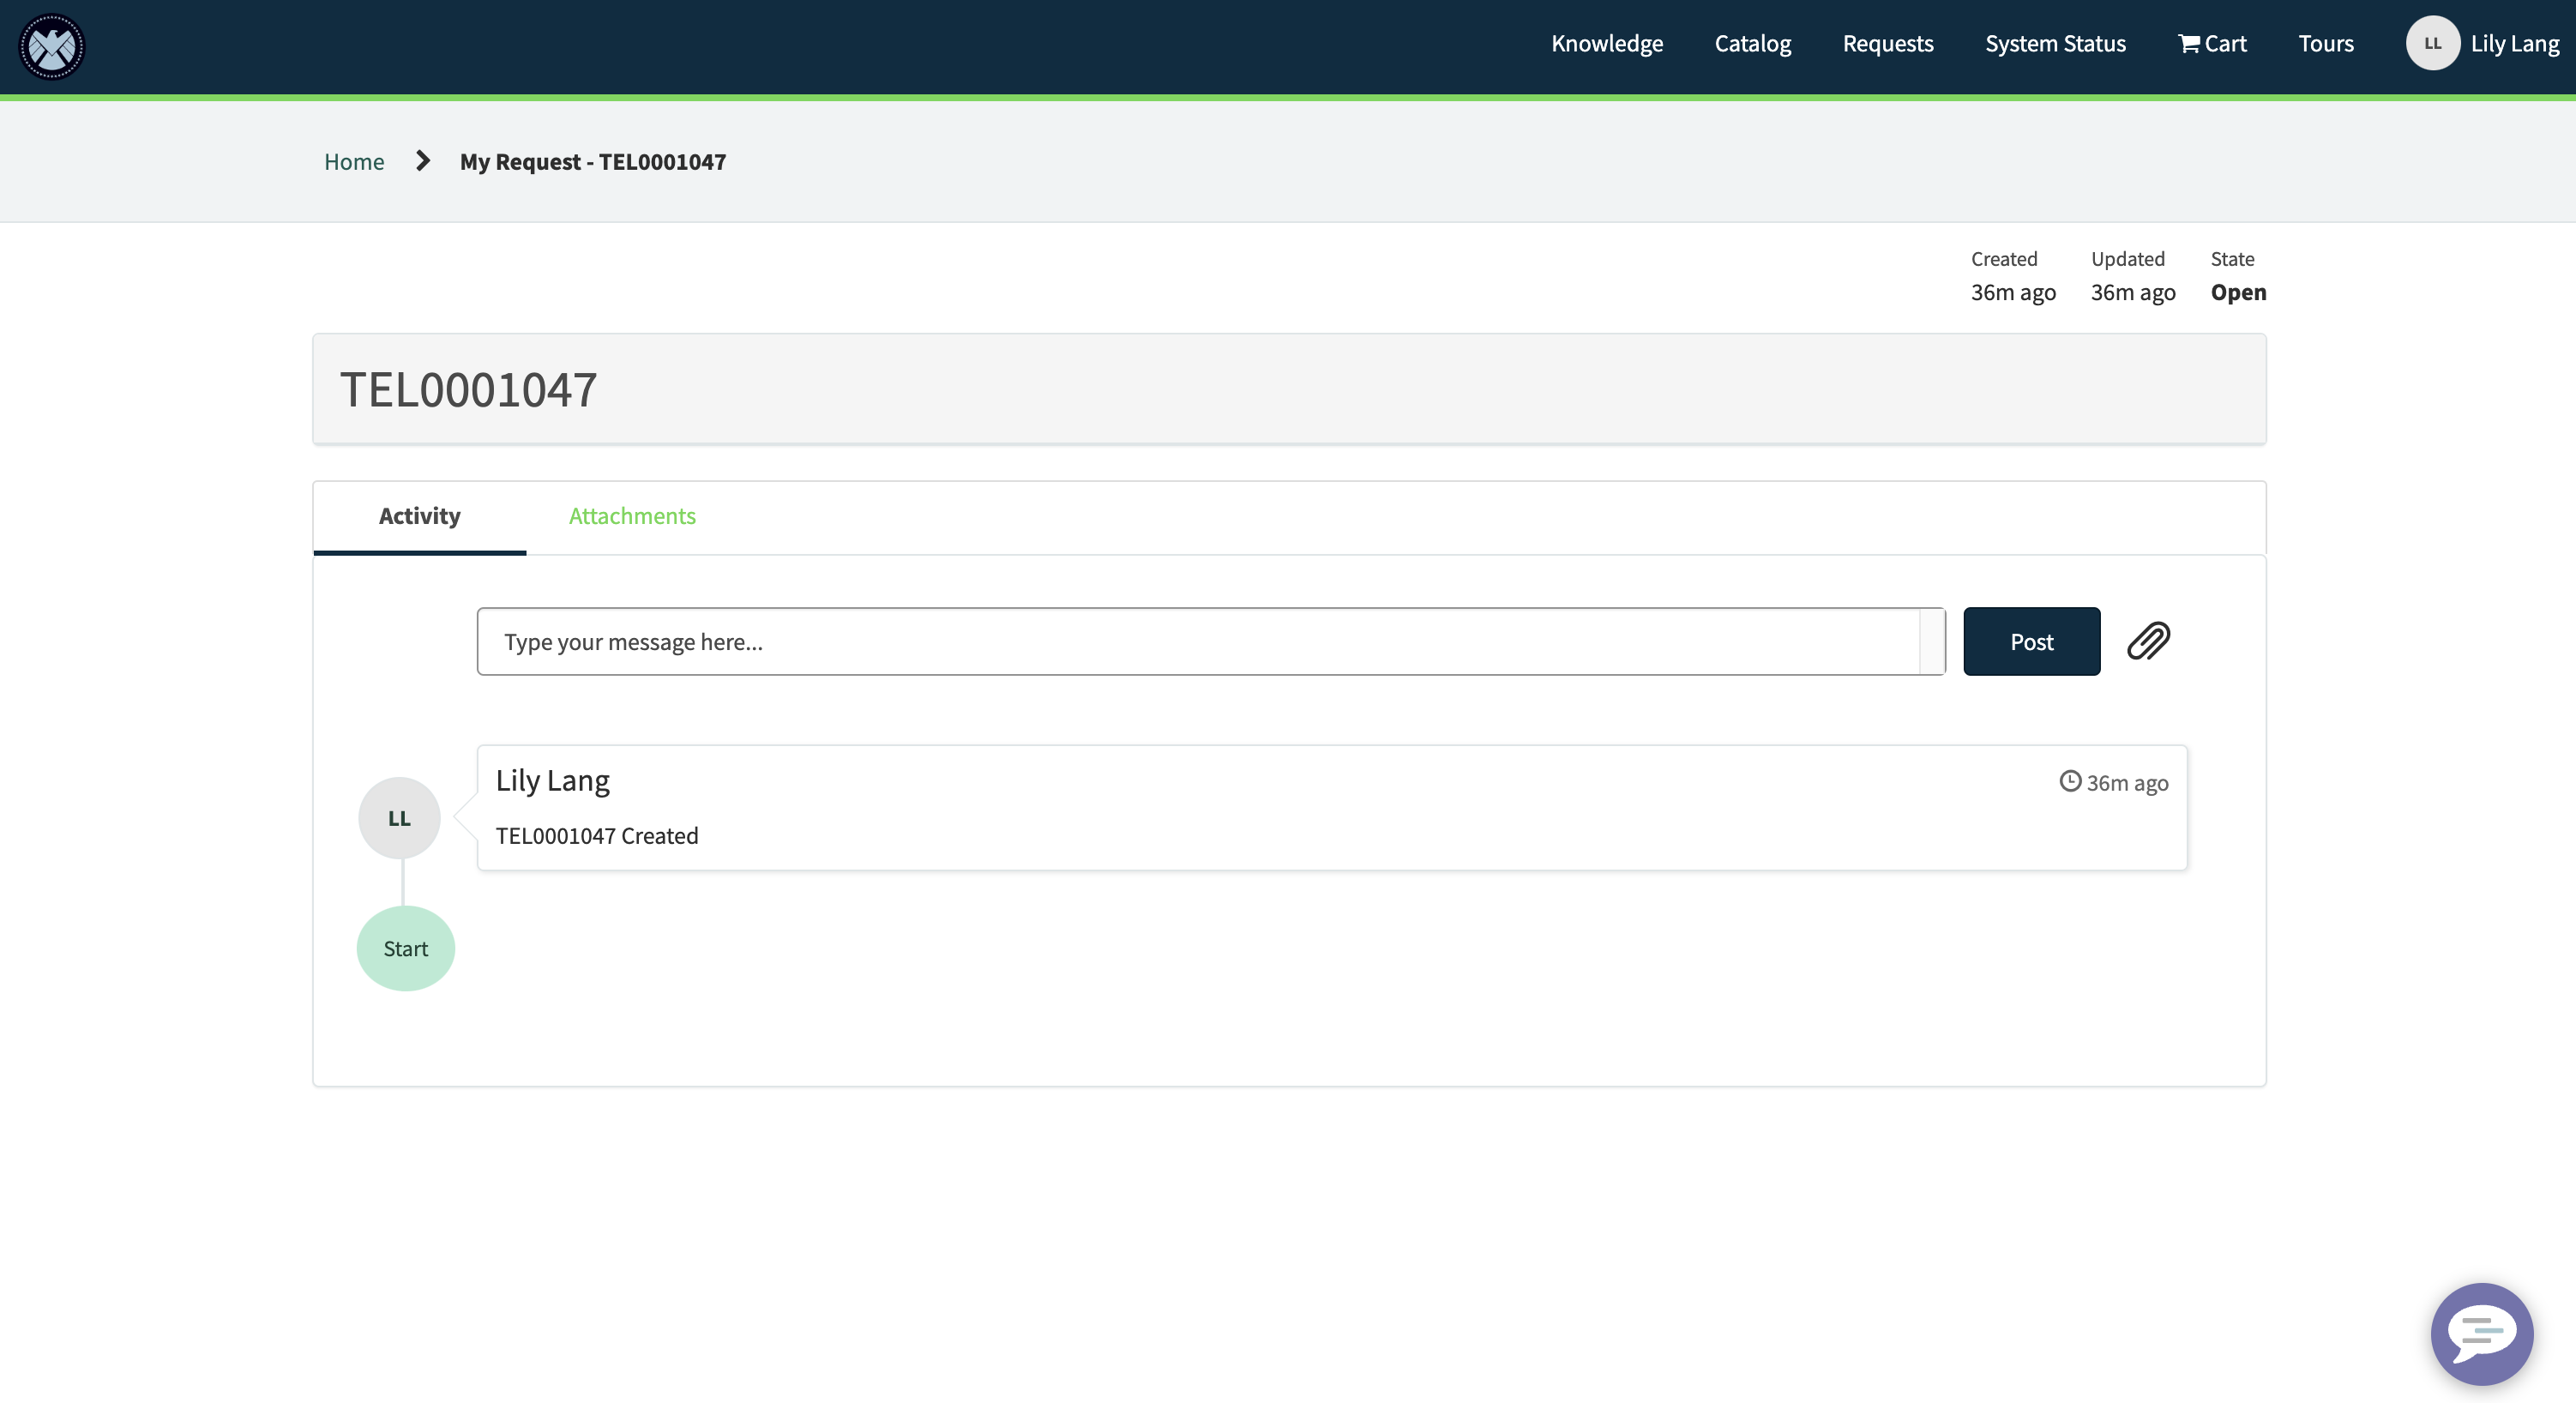
- Navigate back to the Service Portal request page and click on any telework case to take you to the ticket page
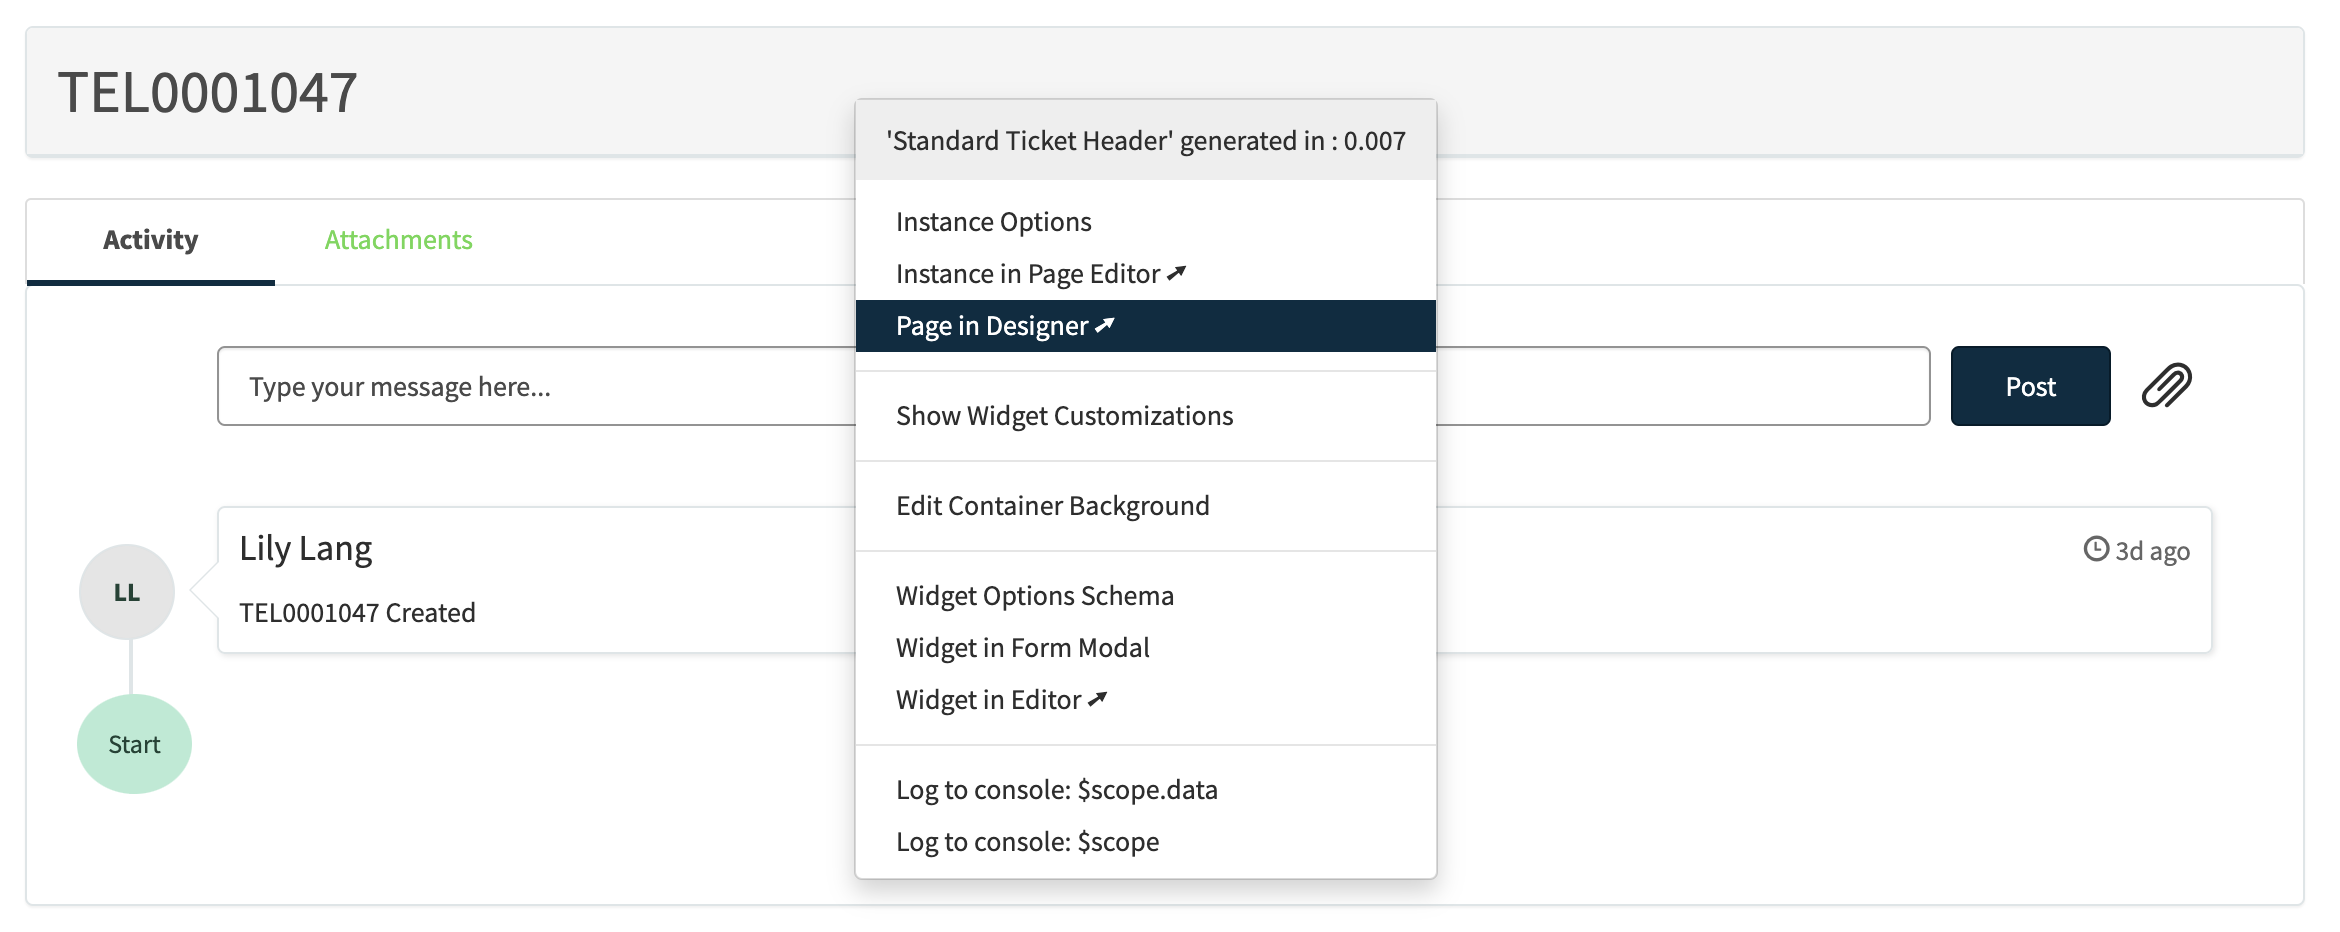
- Ctrl + Right click on the widget and select Page in Designer
- Drag and drop your Edit Request Button widget to the top right section of the page
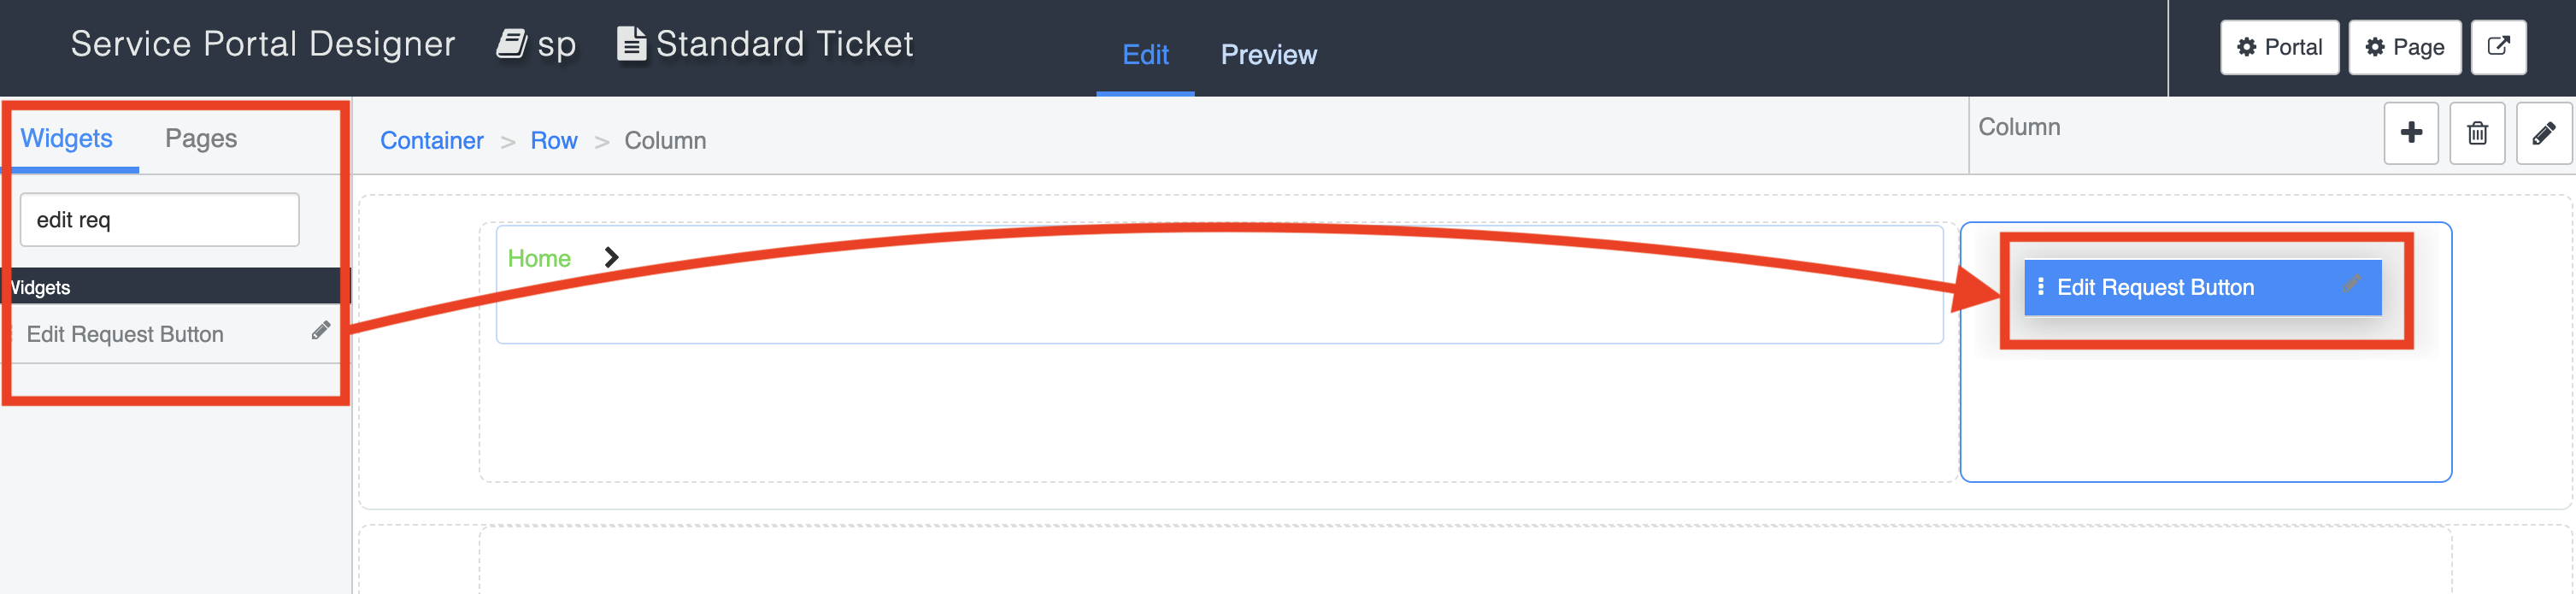
- Configure the options for your widget and set the Contents of button to Edit

- Save
- Navigate back to the tab where your ticket page is open and reload the page to see your new button
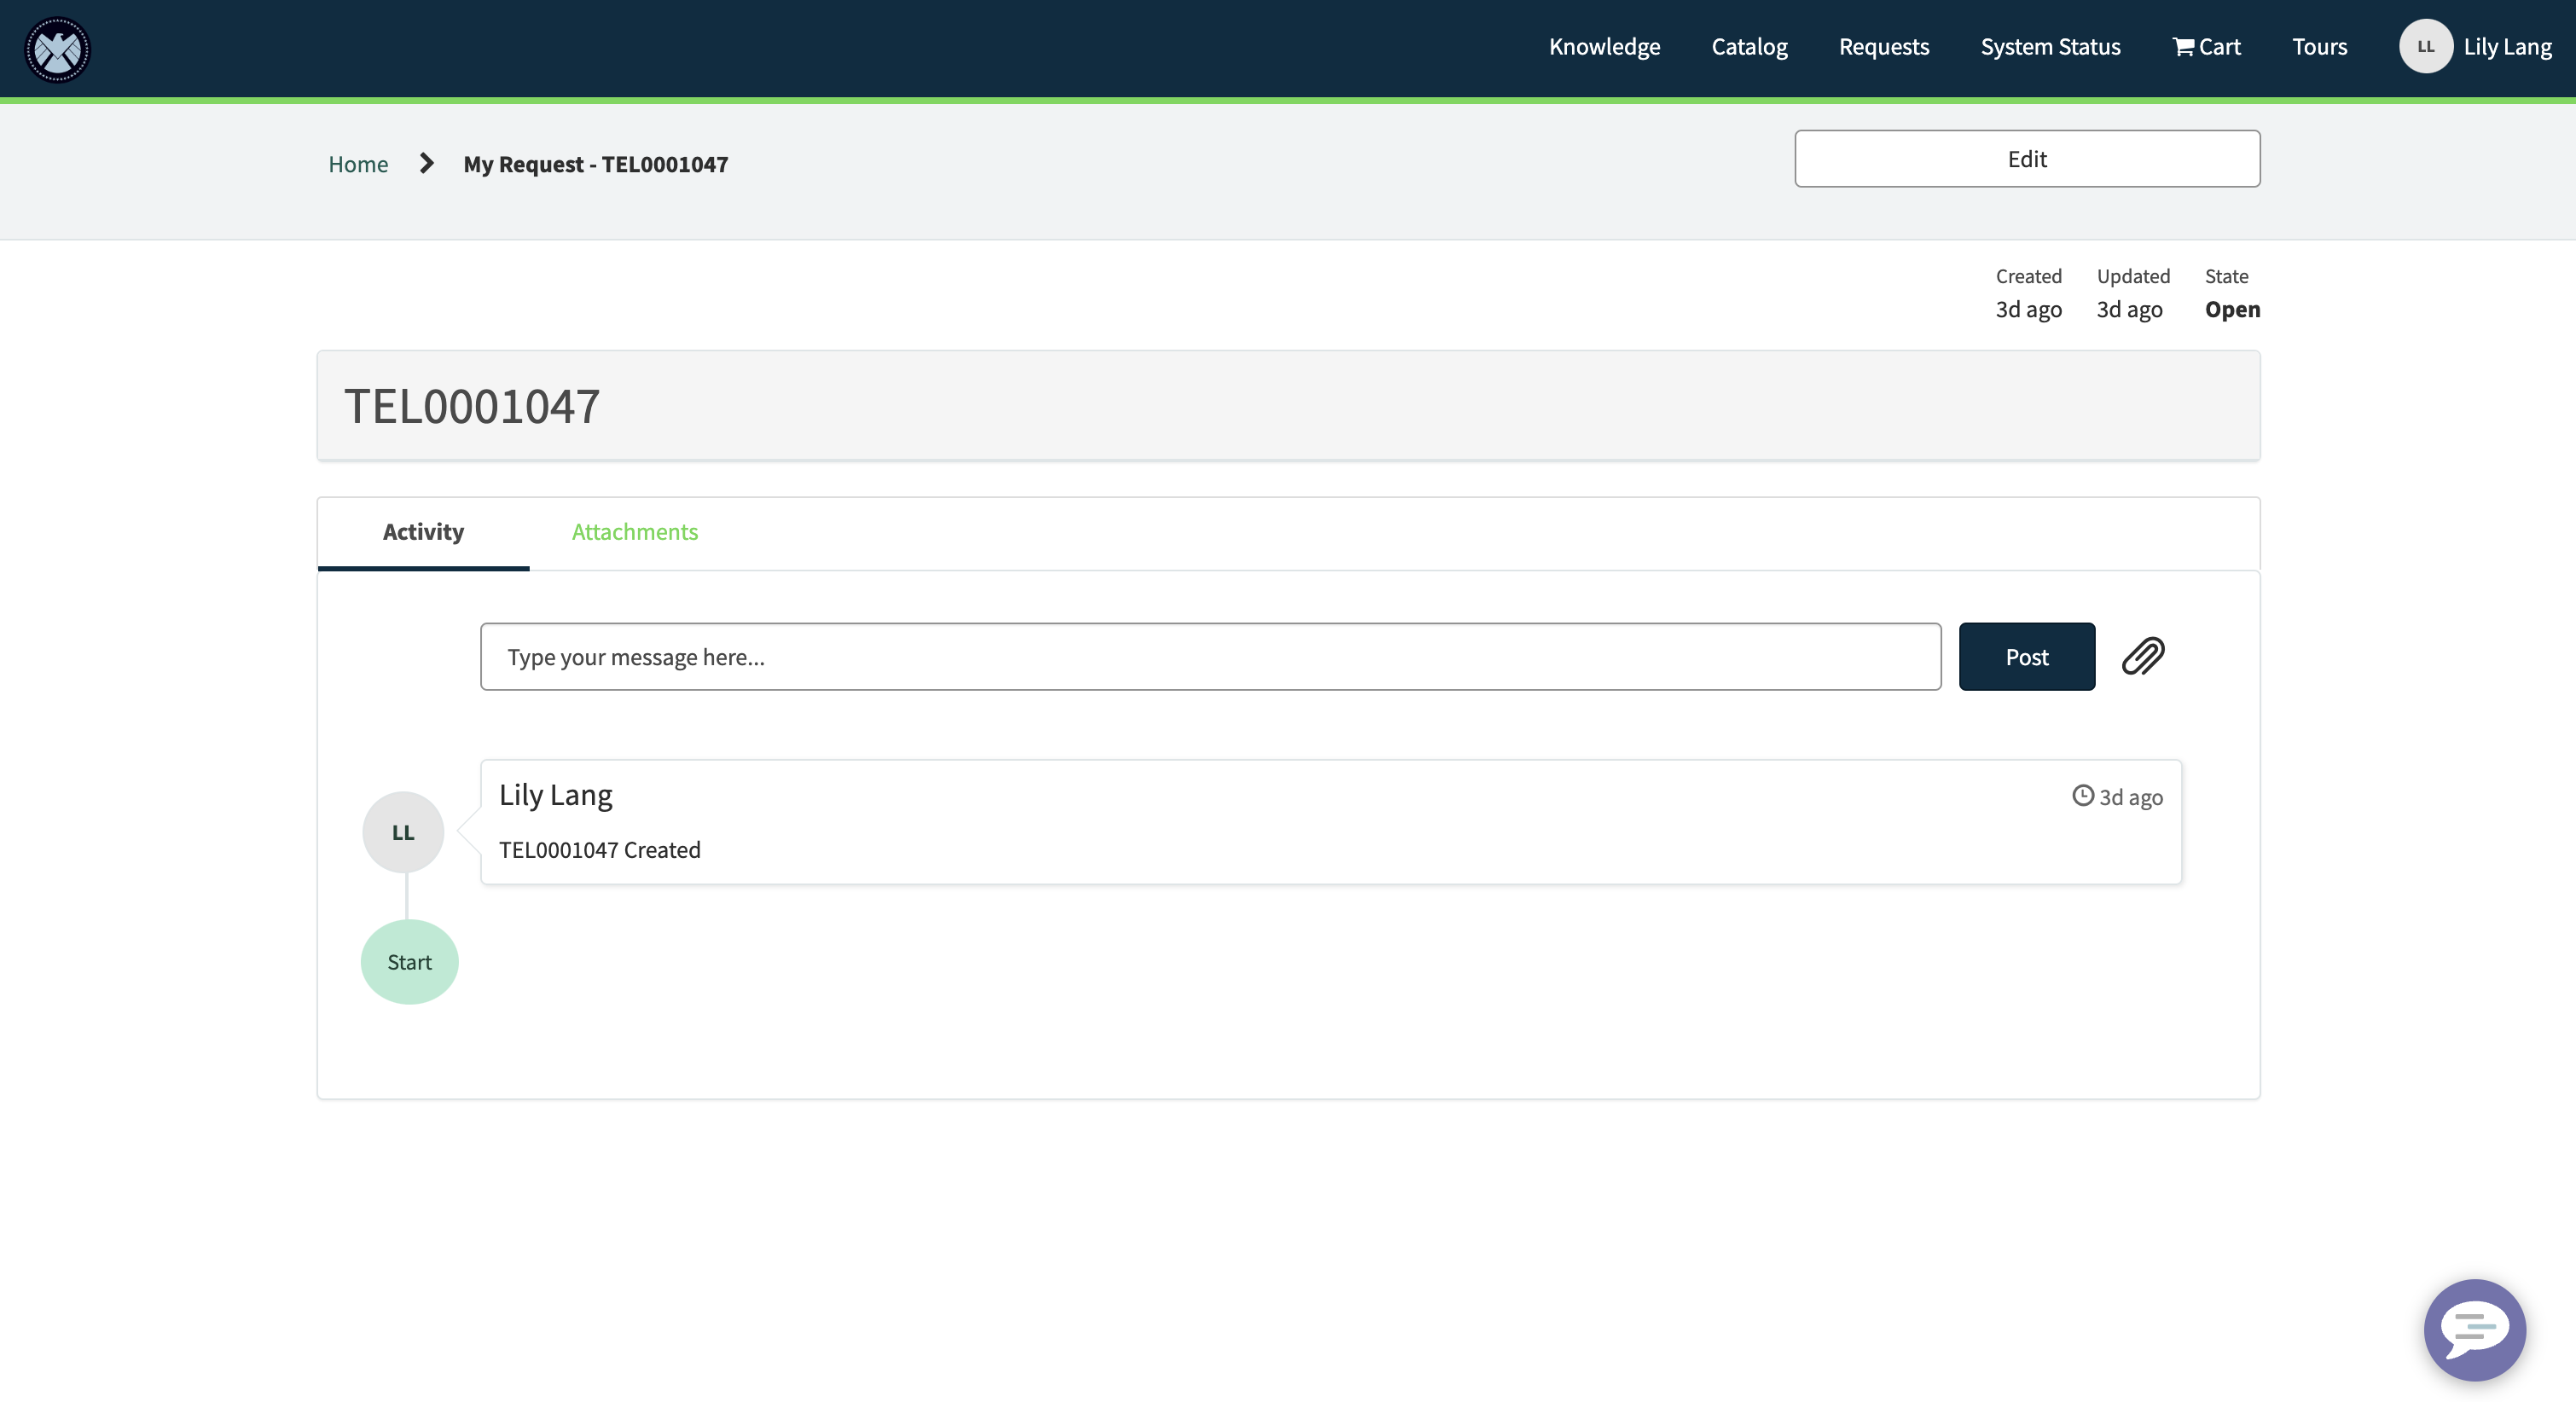
- Use the Edit button to see your ticket in an editable form page